7 Mistakes You're Making with DIY Drywall Repair in Rochester NH (and How to Fix Them)
- TJ Talbot
- Apr 13
- 7 min read

Drywall damage left unaddressed will compromise your interior walls and lead to expensive structural issues. A small hole in your Rochester, NH home quickly becomes a focal point for every guest who enters the room. Inaction is the risky choice. As the spring thaw hits Northwood and surrounding towns like Barrington and Strafford, moisture levels shift and make your walls vulnerable.
You see a dent from a doorknob or a crack from a settling foundation and think it is a simple fix. Most homeowners assume a tub of spackle and a plastic putty knife are enough to restore the surface. This assumption is wrong. Poorly executed repairs are often more visible than the original damage. These mistakes will cost you time and money when the patch inevitably fails or looks like a bumpy mess under your living room lights.
Now is the time to address these interior vulnerabilities before the high humidity of a New Hampshire summer arrives. If you fail to repair your drywall correctly, you invite mold growth, pest intrusion, and a significant drop in property value. Your home deserves a professional finish that lasts through the harsh seasonal transitions of the Seacoast region.
1. Cutting Drywall Too Small
Precision is the foundation of any successful carpentry or drywall project. Many homeowners in Rochester and Epsom rush the measurement process. They eyeball the hole and cut a patch that leaves a massive gap around the edges. This is a critical error.
A gap wider than an eighth of an inch is nearly impossible to bridge with joint compound alone. The "mud" will shrink as it dries and pull away from the edges. You will see a spiderweb of cracks appearing within weeks of the repair. This is especially true in older homes in Chichester or Concord where the framing may not be perfectly square.
Always measure the opening twice and cut your patch to fit snugly. A tight fit ensures the structural integrity of the wall remains intact. If you have already made this mistake, you must cut a larger, cleaner square and start over. Do not try to fill a canyon with compound.
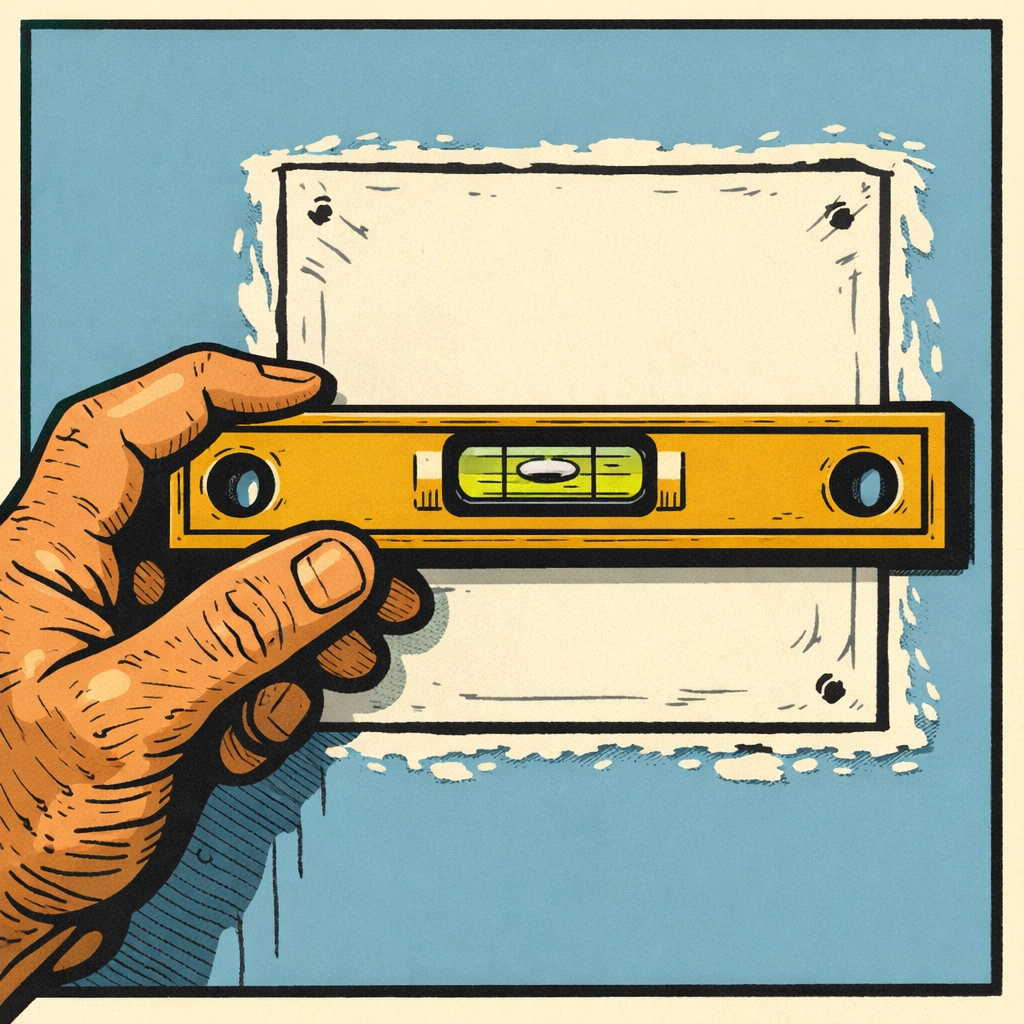
2. Ignoring the Level During Installation
A wall that is not level is a wall that looks amateur. It is easy to assume that a small patch does not need to be checked for level or plumb. This is false. Even a slight tilt in a drywall patch will create a "hump" that catches the light from your windows.
In towns like Nottingham and Deerfield, where historic homes often have slight shifts, keeping your repairs level is even more vital. You do not want your repair to highlight the fact that the house has settled. Use a small torpedo level to verify the alignment of your patch before you drive a single screw.
Screwing a patch in crookedly forces the joint compound to work harder to hide the mistake. You will end up applying more material than necessary. This leads to the "mud mountain" effect that plagues DIY projects. Take the extra thirty seconds to ensure the patch sits flush and straight.
3. Driving Screws Too Deep
The depth of your drywall screws determines the strength of the repair. Homeowners often use a standard drill and drive the screw until it disappears deep into the gypsum core. This is a disaster for your wall. When the screw head breaks the paper face of the drywall, it loses all holding power.
The paper is what provides the strength. Once it is torn, the screw is simply sitting in a hole of dust. The patch will eventually wobble, crack, or fall out entirely. Conversely, screws left protruding will snag your putty knife and make a smooth finish impossible.
You need to achieve a "perfect dimple." The screw head should sit just below the surface of the paper without tearing it. This creates a small pocket for the joint compound to fill. If you struggle with this, T-Build Handyman Services recommends using a drywall dimpler bit on your drill. This tool prevents over-driving and ensures every screw is set to the correct depth for a lasting repair.
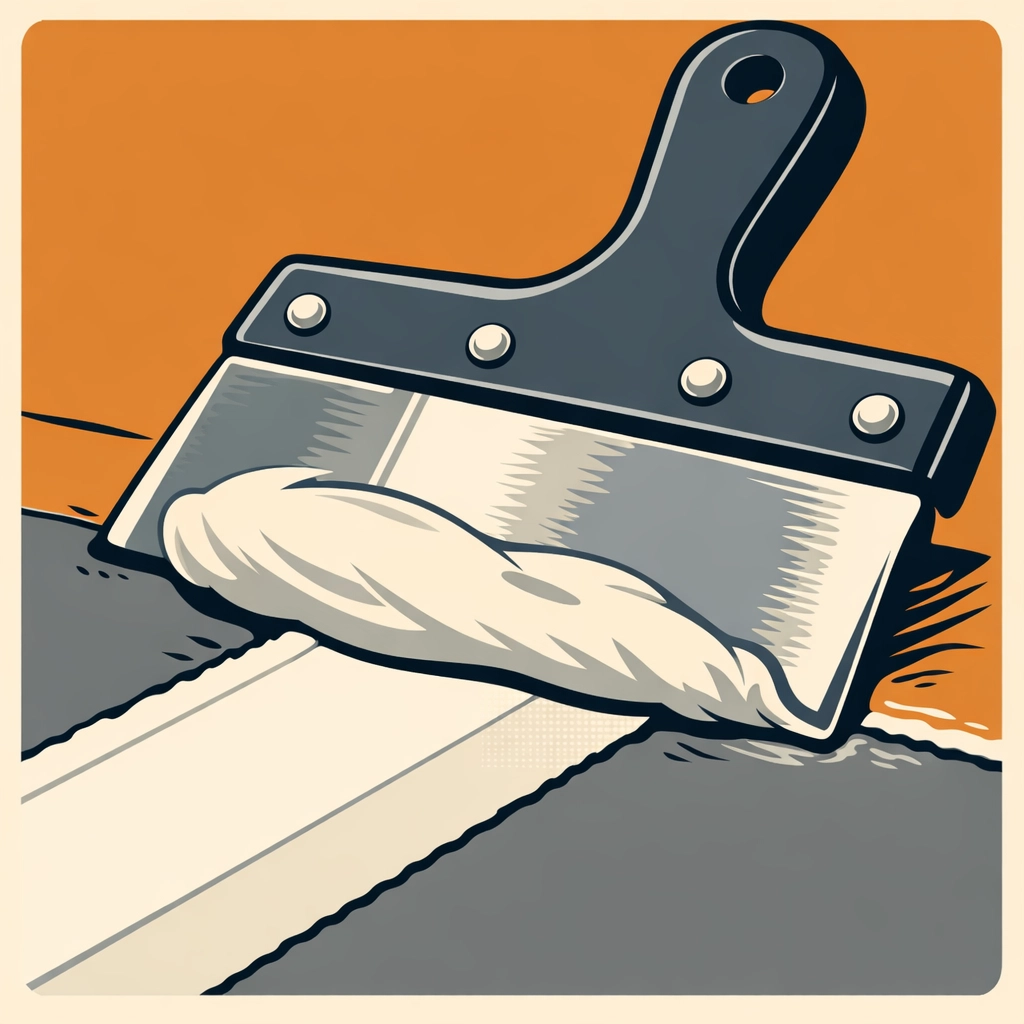
4. Over-Applying Joint Compound
More is not better when it comes to drywall mud. This is the most common mistake made by DIYers in Pittsfield and Raymond. They pile on thick layers of compound, thinking they can just sand it down later. This leads to a massive amount of dust that will coat every surface in your home.
Thick layers of mud take forever to dry. In the damp spring air of New Hampshire, a thick patch might stay wet for days. This creates a breeding ground for mold behind your paint. Furthermore, thick mud is prone to cracking and "alligatoring" as it shrinks.
The secret to a professional finish is multiple thin coats. Apply a thin layer, let it dry completely, and then apply another slightly wider layer. This "feathering" technique blends the repair into the surrounding wall. You should barely need to sand if you apply the compound correctly. You can learn more about avoiding these pitfalls in our guide on 10 home repair mistakes NH homeowners make that cost thousands later.
5. Over-Working the Tape
Drywall tape is essential for preventing cracks at the seams, but it is temperamental. Homeowners often use too much pressure when bedding the tape into the first layer of mud. They squeeze all the compound out from behind the tape. Without mud underneath, the tape will not bond to the wall.
You will see the tape start to bubble or peel off once you apply the next coat of paint. This is a frustrating setback that requires you to scrape everything off and start over. Another issue is over-handling the tape until it frays or loses its shape.
Apply a generous layer of mud, lay the tape on top, and use a light touch to smooth it out. You want just enough mud behind the tape to act as an adhesive. If you use mesh tape, ensure you are using a setting-type compound (hot mud) for the first coat, as regular pre-mixed bucket mud is not strong enough to prevent cracks with mesh.
6. Skipping the Primer Coat
You cannot paint directly over dried joint compound and expect a good result. Joint compound is incredibly porous. It will soak up the moisture from your paint like a sponge. This results in "flashing," where the repaired area has a different texture and sheen than the rest of the wall.
Even if you use the exact same paint color, the patch will stand out. This is a common sight in Nottingham homes where owners try to "quick-fix" a wall before listing it for sale. Skipping primer is a shortcut that always fails. It is one of the 10 reasons your DIY home repairs aren't lasting.
Apply a high-quality primer specifically designed for drywall. This seals the compound and the surrounding paper, providing a uniform surface for the topcoat. This step is non-negotiable for a professional, "invisible" repair. A veteran-owned business like T-Build Handyman Services never skips the prep work because we know the finish is only as good as the foundation.
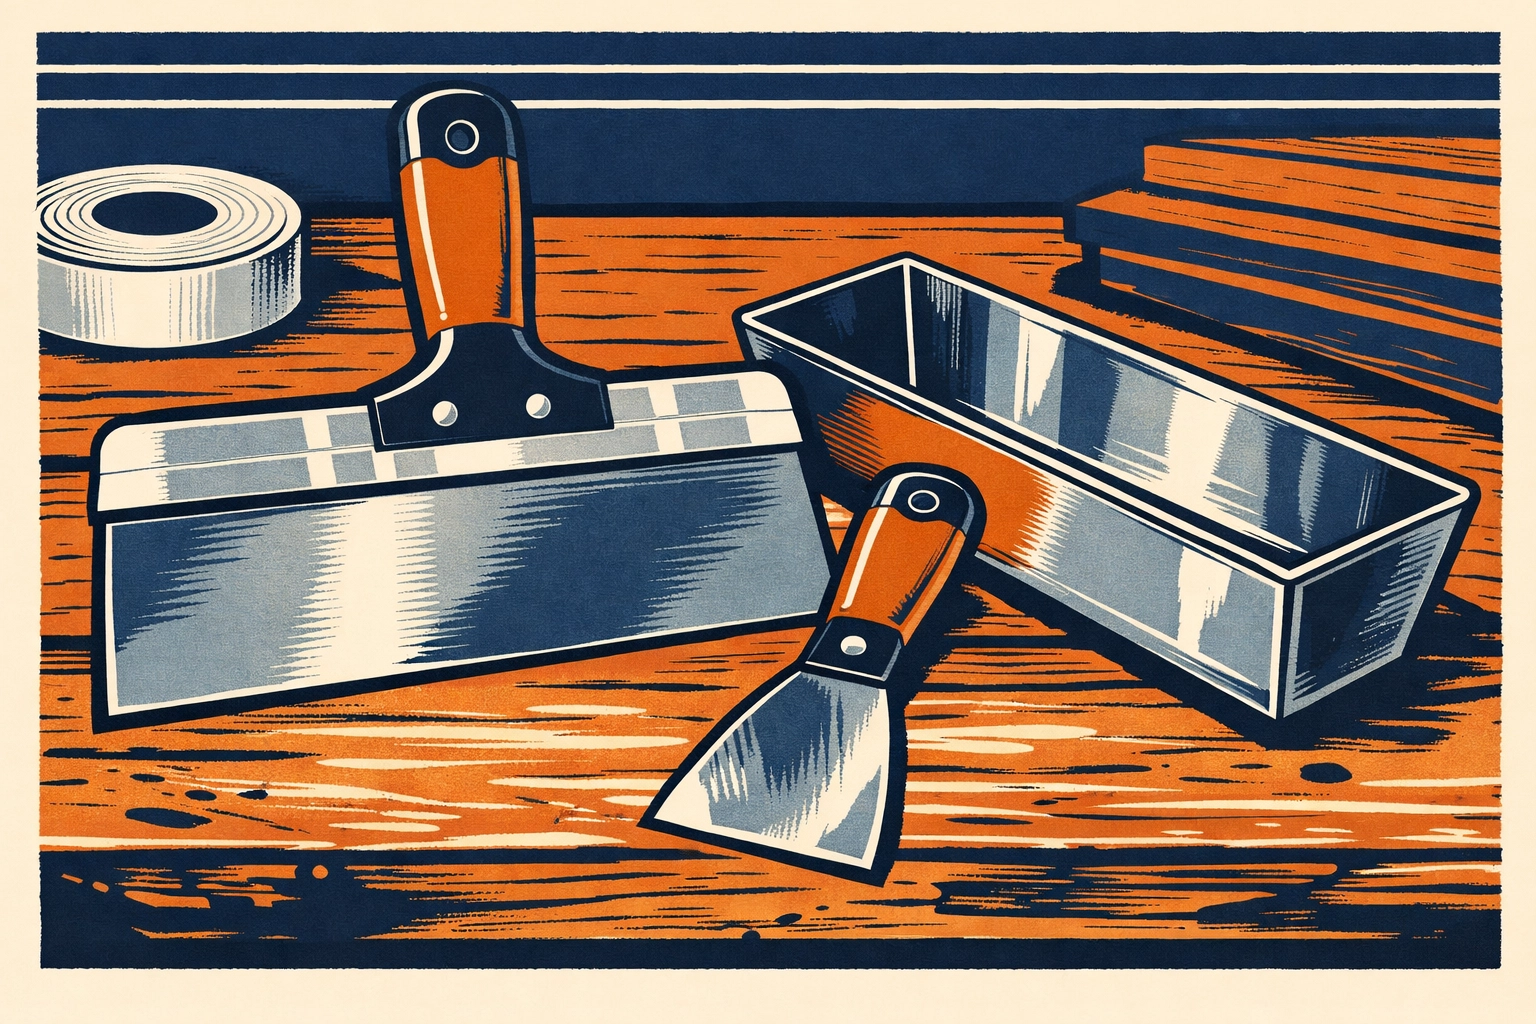
7. Using the Wrong Materials for the Job
Not all "mud" is created equal. Using lightweight spackle for a large hole is a recipe for failure. Spackle is meant for tiny nail holes, not for structural repairs or bridging gaps. It does not have the strength to hold up over time, especially in high-traffic areas of your home.
Similarly, using "all-purpose" compound for every single step can be a mistake. Professional finishers often use "durabond" or setting-type compounds for the first coat because it dries harder and shrinks less. They then switch to a "topping" compound for the final coat because it sands much smoother.
Using the wrong tools is just as damaging. A rusty putty knife or a piece of wood used as a straightedge will leave gouges in your wall. Invest in a 6-inch and a 12-inch stainless steel drywall knife. These tools allow you to feather out the edges of your repair over a wide area, making the patch disappear into the wall.
Immediate Steps for a Better Repair
If you are facing drywall damage today, do not wait. The longer a hole sits open, the more moisture it absorbs from the air in towns like Lee and Strafford. Use this checklist to ensure your repair stands the test of time and preserves your home's integrity.
: Clean the damaged area : Square the hole edges : Install wood backing support : Cut patch to fit : Set screws into dimples : Apply fiberglass mesh tape : Use thin mud coats : Feather the edges wide : Sand with fine grit : Prime before final paint
Following these steps will prevent the most common headaches associated with DIY wall work. If you find yourself staring at a wall that looks worse than when you started, it is time to call in a professional. Repairing these mistakes often costs more than doing it right the first time.
T-Build Handyman Services specializes in high-quality drywall repair and carpentry. We serve homeowners across Rochester, Northwood, and the surrounding communities with the precision you expect from a veteran-owned business. We can help you boost your home value instantly by erasing years of wear and tear on your interior surfaces.
Do not let a botched DIY project stress you out. If you are in Pittsfield and realize why you need a handyman near me, we are ready to step in. We handle everything from small dents to full room remodels with a focus on durability and a clean finish.
To book your drywall repair or get an estimate on your next home improvement project, contact us today.
Call, text, or email T-Build Handyman Services to book your repair.
Find us on our Google Business Profile: https://share.google/oHE7CUfaMkmuuSzWj
Comments