7 Drywall Repair Mistakes You're Making (And How Our Veteran-Led Team Fixes Them)
- TJ Talbot
- Feb 26
- 5 min read

Your walls are the visual foundation of your home: and a botched drywall repair ruins that foundation instantly. In Northwood, the fluctuating humidity and shifting temperatures make every minor mistake stand out like a sore thumb. If you do not address these vulnerabilities now, you are inviting structural decay and plummeting property value. Cracked seams: bulging tape: visible screw heads. These are the hallmarks of a DIY project gone wrong.
As the ground begins to thaw in towns like Deerfield and Pittsfield, your home’s framing shifts, putting immense pressure on your drywall joints. Most homeowners attempt a quick patch only to find the crack returning within weeks. Inaction is the risky choice. Leaving a hole or a poorly feathered seam leads to moisture intrusion and localized drafts. You need a professional finish to ensure your home remains a sanctuary rather than a construction zone.
At T-Build Handyman Services, our veteran-led team understands that precision is not optional. We bring military-grade discipline to every project, ensuring that your repairs are seamless and durable. Whether you are in Nottingham or Barrington, you deserve walls that look like they were never damaged in the first place.
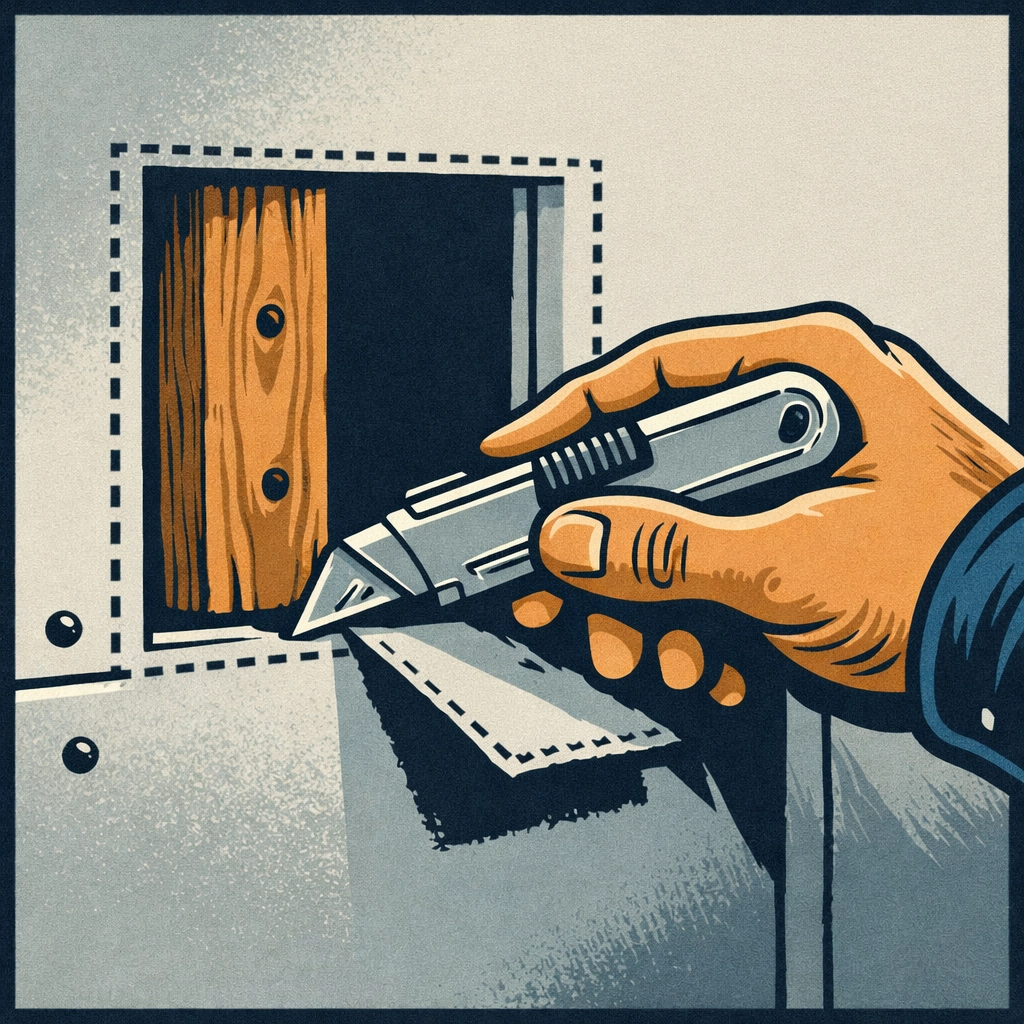
1. The Measurement Trap
A wall that is off by a fraction of an inch is a wall that will fail. Many homeowners estimate their cuts rather than using a precise tape measure. This leads to massive gaps that require excessive amounts of joint compound to fill.
Excessive mud shrinks as it dries. This creates a hollow space behind your paint that will eventually crack. We see this often in older homes in Lee and Strafford where walls are rarely perfectly square. If the piece is too small, the structural integrity of the repair is compromised. The patch will wobble, the tape will bubble, and you will be back at square one by next season.
2. Cutting Pieces Too Small
It is a common mistake to cut a patch exactly the size of the hole. This leaves no room for the piece to "bite" onto the surrounding studs. A small patch is a weak patch. It will eventually sink into the wall cavity or pop out when someone leans against it.
We fix this by cutting back to the nearest studs. This provides a solid anchor point for the new material. In places like Epsom and Chichester, where historic homes feature unique framing, finding that anchor point is critical. We ensure every piece of drywall we install is securely fastened to the skeleton of your home.
3. Ignoring the Level During Installation
A crooked wall is a permanent eyesore. Skipping the level during installation results in "lippage": where one sheet of drywall sits higher than the piece next to it. This creates a shadow line that no amount of sanding can hide.
If your walls are not straight, your baseboards and crown molding will never sit flush. This creates gaps that allow heat to escape during the brutal New Hampshire winters. We use professional-grade levels to ensure every sheet is perfectly plumb and true. This is especially important for larger renovations in Concord or Raymond where multiple sheets meet in high-traffic areas.
4. Hanging Drywall Upside Down
Drywall has a specific front and back. The front is typically a lighter color and smoother, designed to accept mud and paint. The back is a darker, rougher paper. Hanging it backward reduces the bond between the paper and the joint compound.
Over time, the paper will delaminate. This causes the paint to peel off in large sheets. Our team at T-Build Handyman Services inspects every board before it goes up. We ensure the "paper memory" is facing the right direction to guarantee maximum durability.
5. The "More is Better" Compound Error
This is the most frequent mistake we see in Candia and Epping. Homeowners believe that a thick layer of joint compound will hide their mistakes. In reality, thick mud is your worst enemy.
Thick layers take days to dry in our NH climate. They are prone to deep cracking and unsightly bulges. Furthermore, you will spend hours sanding down the excess, creating a mountain of dust that coats your entire home. We apply consistent, thin layers: sometimes up to three or four: to build a flat surface without the mess.
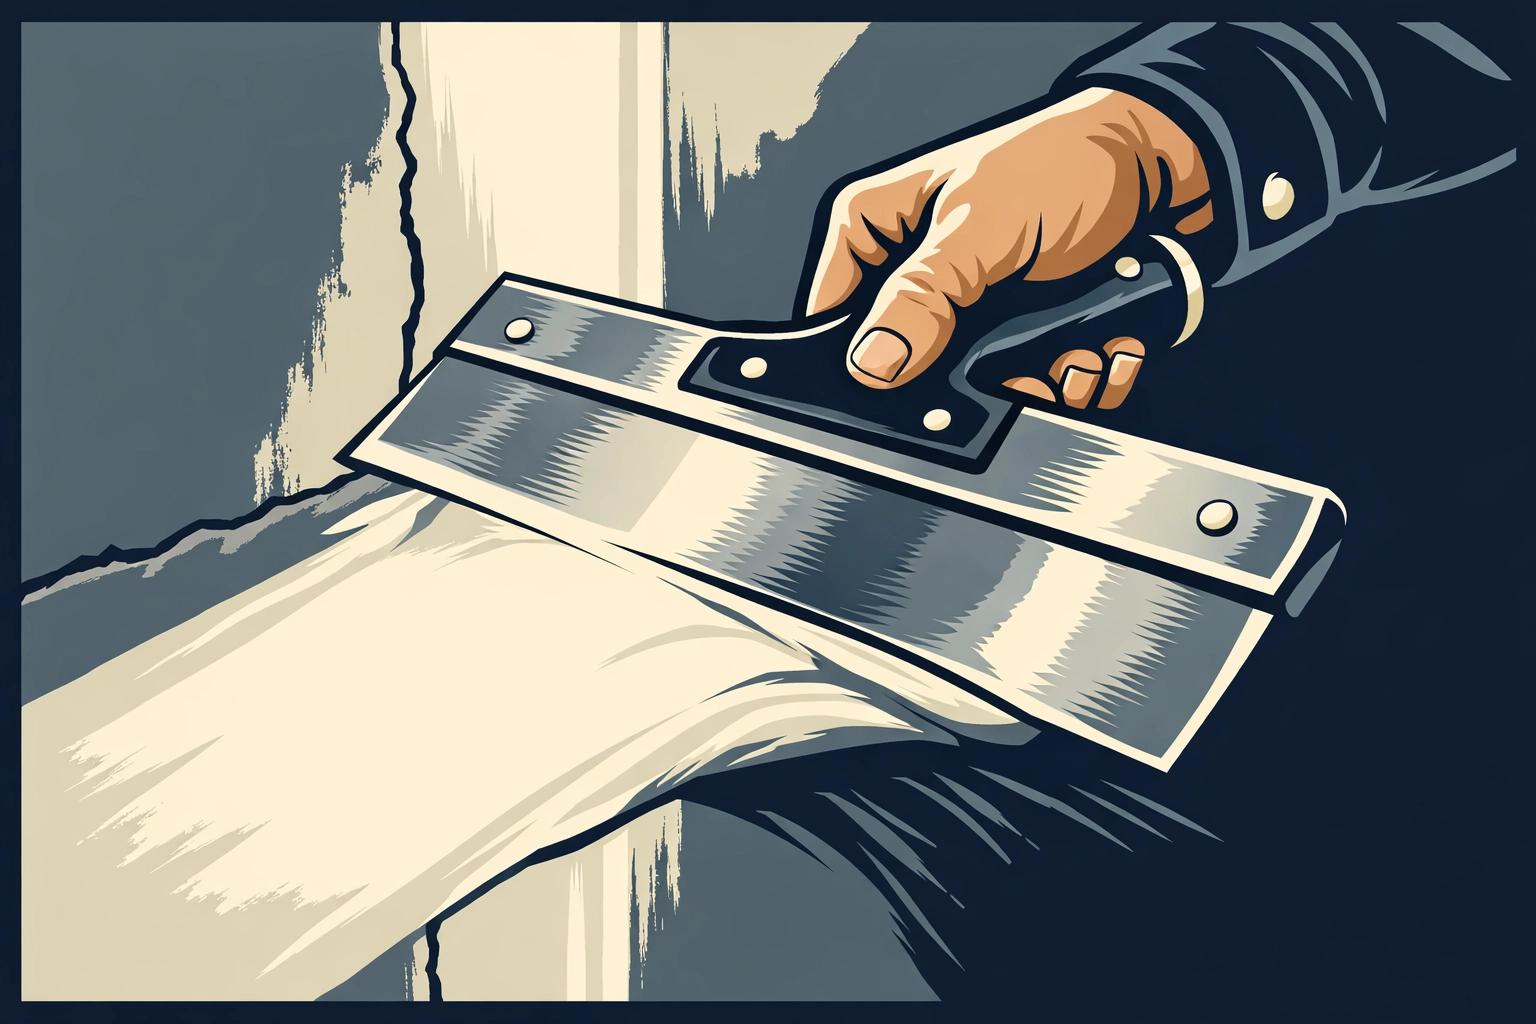
6. Poor Feathering and Mudding Techniques
Feathering is an art form. It requires blending the edges of the joint compound so thinly that they become invisible to the naked eye. Most DIYers leave "ridges" or "shoulders" at the edge of their patches.
Once you apply a fresh coat of paint, these ridges catch the light. Your repair will look like a hump on the wall. We use stainless steel joint knives of varying widths to gradually taper the mud. This technique ensures that the transition from the old wall to the new patch is completely undetectable. If you've noticed water stains on your ceiling, this guide on professional repair explains why a smooth finish is vital for a clean look.
7. Improper Screw Depth
If you drive a screw too shallow, the head sticks out and ruins the finish. If you drive it too deep, you break the paper face of the drywall. Once that paper is broken, the screw provides zero holding power. The drywall is essentially "floating" and will eventually sag or rattle.
We use specialized drywall dimplers to ensure every screw is set at the perfect depth. This creates a small "crater" that we can fill with a tiny amount of mud, leaving the surface perfectly flat. Precision is the difference between a repair that lasts a decade and one that fails in a month.
The T-Build Handyman Services Standard
We don't just patch holes; we restore the integrity of your home. Our veteran-led approach means we don't cut corners. We understand that your home in Nottingham or Barrington is your greatest investment. Treating it with anything less than total professionalism is unacceptable.
Whether you are dealing with a hole from a doorknob or a large-scale renovation, the process remains the same: discipline, precision, and quality materials. If you are struggling with home repairs that just aren't working, you might find our article on why DIY repairs fail helpful.

Drywall Repair Checklist
Use sharp utility blades --
Measure the opening twice --
Cut back to studs --
Secure with drywall screws --
Apply fiberglass mesh tape --
Mix mud to creamy --
Apply three thin coats --
Sand with fine grit --
Wipe away all dust --
Apply high-quality primer --
Professional Drywall and Carpentry Services
If your walls are showing signs of wear, now is the time to act. Don't wait for the humid summer months to make those cracks even wider. We serve homeowners throughout Northwood, Deerfield, Pittsfield, and the surrounding communities. We bring the tools, the expertise, and the work ethic required to get the job done right the first time.
Call, text, or email T-Build Handyman Services to book your drywall repair today.
Our veteran-led team is ready to help you cross those lingering home repairs off your to-do list. From minor patches to full room installations, we provide the professional touch your home deserves. Check out our Yelp profile to see what your neighbors in New Hampshire are saying about our work.
Maintaining your home is a year-round job. Don't let a small drywall crack turn into a major renovation project. Address it now and enjoy the peace of mind that comes with a job well done. For more ideas on how to improve your home in the Nottingham area, read our post on home improvement ideas for Nottingham homeowners. We are here to ensure your property stays in top shape through every season.
Comments